And we're moving on with the book binding adventure today with removing the string reinforcements. This old paper edition of The Hobbit is starting to look like a book again. I took off the old scrap covers which were protecting the original text block. The paper was easily removed when tearing off the book.
 |
| Removing scrap covers |
By the way, I don't know if "scrap covers" is the technical term. It's just what I called them. I was left with the strings to remove. Upon inspecting them I can see I did a good job wedging them into my initial glued binding. Opening the book wide, there was really only a trace of the strings inside the books' binding crease.
 |
| Nicely secured strings |
Using a sharp craft knife it was easy to remove the excess string. As I had thought, I probably should have made the saw cuts deeper into the glued binding to make the strings even more effective at strengthening the binding. But all in all it's a great first attempt.
 |
| All tidied up |
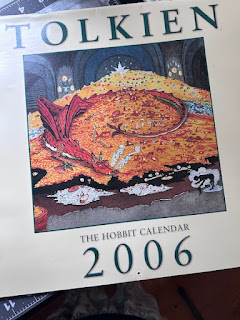
What's next is quite exciting. The end papers, the pieces of paper or card stock that you glue on top of the front (or back) page and glue onto a cover. They are what holds the text block, the glued binding to the hardcovers. I'd like to incorporate an old Tolkien calendar from 2006 with illustrations from Tolkien into the end pages. But I must work on some experiments to see if gluing images to the paper type I've chosen will be suitable and look nice. More to come...
 |
| Old Tolkien illustrations |
Disclaimer, I am a total newbie artist and crafter. The process of book binding here you read about is knowledge I've learned through YouTube videos. At the end of the project, I'll be posting those videos I found helpful.
No comments:
Post a Comment